

How To Change Airdrop Settings
You can change your AirDrop settings on an iPhone, iPad, or Mac. All you need to do is open the Control Center on your device by swiping down from the top right corner of the screen or swiping up from the bottom of the screen, Press and hold the network settings box (the one with Wi-Fi, Bluetooth, and Airplane Mode icons). Tap on the AirDrop icon and Select your preferred AirDrop setting.
This article describes how to change your AirDrop settings on Mac, iPhone, iPad, and iPod touch. If AirDrop is not working properly, try troubleshooting steps such as turning off and on your device, changing your Mac’s name for AirDrop, and trying different apps to transfer files.
–
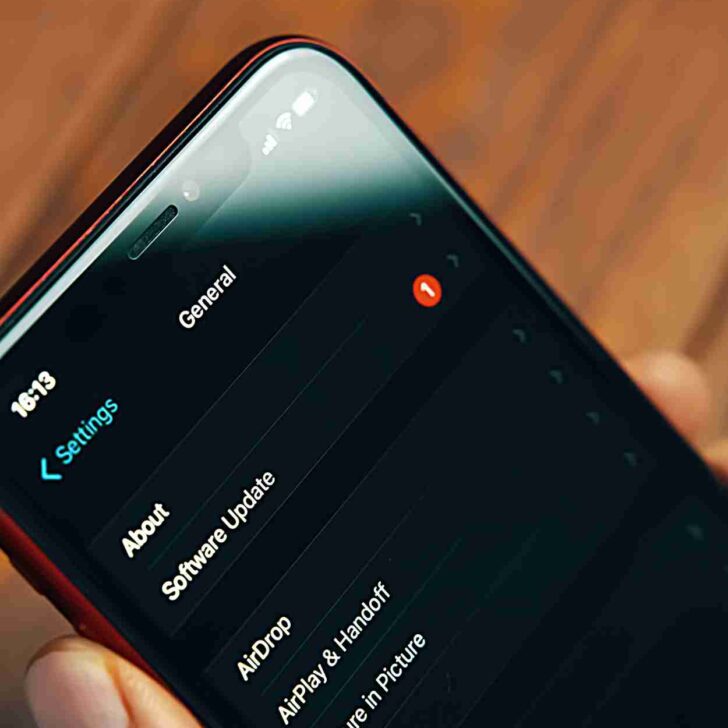
To change your AirDrop name, you’ll need to change the device name on your iPhone or iPad. On an iPhone, open the Settings app and go to General > About > Name. Here you can enter a new device name that will be displayed to your contacts when they attempt to AirDrop with you. On an iPad, open the Settings app and go to General > About > Name. Enter a new name here and tap Done when finished. After changing your device’s name, it should display your new AirDrop name in devices attempting to connect with it.
If you’re still having trouble, try following the above steps to ensure you’ve updated your AirDrop name correctly. Just make sure that the device you are attempting to send files to is the correct device and try turning it off and on again if there’s any confusion. If all else fails, just close the settings app and follow the above steps again. With a few simple steps, you can easily change your AirDrop name and avoid any confusion when sending files.
| Steps | Description |
|---|---|
| Step 1 | Open the Control Center on your iPhone or iPad. |
| Step 2 | Press and hold the network settings card in the top-left corner. |
| Step 3 | Tap on “Airdrop” to access the Airdrop settings. |
| Step 4 | Choose who can send you files: “Receiving Off,” “Contacts Only,” or “Everyone.” |
| Step 5 | Choose whether to enable “Allow me to be discovered by” and select “Contacts Only” or “Everyone.” |
| Step 6 | If you choose “Contacts Only,” make sure your contacts are updated and visible in your contacts list. |
| Step 7 | Exit the Control Center and test Airdrop by sending a file to yourself or someone else. |
Begin by selecting your AirDrop name from the list of potential nearby devices. You can also set your AirDrop settings to determine who can send files to your device or receive files from someone else’s screen. The Airdrop display name is what appears on someone else’s screen when attempting to send something to you.
To change your Airdrop settings, you must first accept the files that are sent to you. Open the Settings app on your iPhone or other Apple device and tap “General” followed by “Airdrop”. You can then set up who can send files to you from your contacts list, or even allow all of your friends to transfer files. With this in mind, you can easily share photos, videos and other content with friends and family. To receive content from other people, both devices need to be compatible with Airdrop – Macs or iPhones.
If you’re interested in Stop Playing Music, take a look at my other article
If you are having trouble with transferring files via Airdrop, then it is essential to check the Airdrop settings on your iPad, iPhone or Mac. You can adjust the settings to your liking and resolve any issues that you may be having. To troubleshoot problems, open your device’s control center and locate the Airdrop icon – this will enable you to make new or additional changes that can correct any unwanted behavior. Make sure that AirDrop is enabled on both devices for successful file transfers.
To solve AirDrop problems, start by enabling AirDrop on your iOS or iPadOS device, iPhone, or Mac. Then switch the feature on in your system. If the issue persists, there are other chances of transferring files to other devices. Here is another way to showcase apps – most cases involve file transfer from a macOS device to an iPhone or iPadOS device. In such cases, you can try using a different way like Share Sheet or emailing the file instead of AirDrop. The chances of successful file transfers increase by switching between features as per the requirement and trying out different ways as mentioned above.
To enable Airdrop on a Mac device and an iOS device, like an iPhone, the user needs to first turn on both the devices. On Mac computers, the user will find the Airdrop icon on their desktop. It looks like a sharing icon and it can be used to transfer files quickly between Apple devices. To send a file, select your device from the sharing screen and click on the flying arrow next to it. Then select your file and click ‘Send’. On iOS devices, go to the Control Center by swiping up from the bottom of your phone’s display, then tap on the Sharing icon. Here you can find all available devices nearby that you can send files to using Airdrop. When a file is received using Airdrop, an open Finder window will appear where you can click or tap ‘Accept’ or ‘Decline’ to receive or reject it respectively.
If you have a Mac using Airdrop, you can adjust the settings for inbound Airdrop file transfers. You can also use Airdrop to send files from your nearby iPhone, iPad or iPod touch. To block incoming file transfers from other Apple services, go to the ‘Airdrop’ window in Finder and uncheck ‘Allow me to be discovered by’ or ‘Allow only contacts’. You can use Airdrop to send documents, photos, videos and websites, map locations and contact card details. To keep your Mac device secure from incoming files, make sure that you do not accept any files that you don’t trust or recognize. This way you can stay safe while still being able to send documents photos videos websites and contact card details through Airdrop with ease.
If you want to change your Airdrop name, you can do so in the settings of your Macbook. If you own several Macbooks, it’s a good idea to give each one a unique name or else other Apple device users may have trouble distinguishing between them. By default, Airdrop will use the name of your Macbook for its purposes. To avoid crowding the Airdrop list with multiple devices having the same name, it’s best to change your Macbook’s name and show other users that you have more than one device. This way they can easily select which one they want to send files too. To make it easier for others to find and send files to your device, make sure that it is listed in other places such as iCloud or iTunes as well.
To find your Airdrop settings, go to your device’s Control Center on macOS. You can access the Control Center by clicking on the menu bar at the top right corner of your screen and then selecting ‘Go’ from the popup Airdrop icon. Alternatively, you can also find your device’s Control Center in the Dock. Once you have located it, take a look at the various options available to you in order to customize how you share files through Airdrop.
If you’re interested in How To Remove Non Friends From Facebook Messenger 2022, take a look at my other article
First, you can use the Contacts app to recover files from senders with their device name or linked email address. When receiving a file, you can choose between available storage devices such as an Apple ID and a receiving Mac. You can also use Disk Drill to address the phone number of the sender and see a list of devices on the screen. A prompt then appears asking if you would like to accept or reject the file.
How do I change AirDrop settings on Mac?
Choose Apple menu > System Settings, choose General in the sidebar, then click AirDrop & Handoff on the right to modify these options. You might have to scroll down. Turn on Handoff between your Mac, iPhone, iPad, and Apple Watch if your Mac supports it. See Handoff: Take up where you left off.
How do I find my AirDrop history?
And if you’re searching for a means to find out what you’ve transmitted via AirDrop to other people, there isn’t one, sadly. You cannot view the files you have transmitted to other devices, including an iPhone or a MacBook, since AirDrop does not maintain a history of files shared or received.
How do I change AirDrop settings on Mac?
Choose Apple menu > System Options, pick General in the sidebar, and then hit AirDrop & Handoff on the right to modify these settings. You might have to scroll down. Activate Handoff between your Mac, iPhone, iPad, and Apple Watch if your Mac supports it. See Handoff lets you resume where you left off.